
Deploying Harbor on Kubernetes: A Step-by-Step Guide
S
DevOps & Cloud Engineer — building scalable, automated, and intelligent systems. Developer of sorts | Automator | Innovator
Search for a command to run...
DevOps & Cloud Engineer — building scalable, automated, and intelligent systems. Developer of sorts | Automator | Innovator
Artificial Intelligence has become one of the biggest talking points in software engineering. Every week, a new tool promises to automate deployments, fix production incidents, or replace developers a

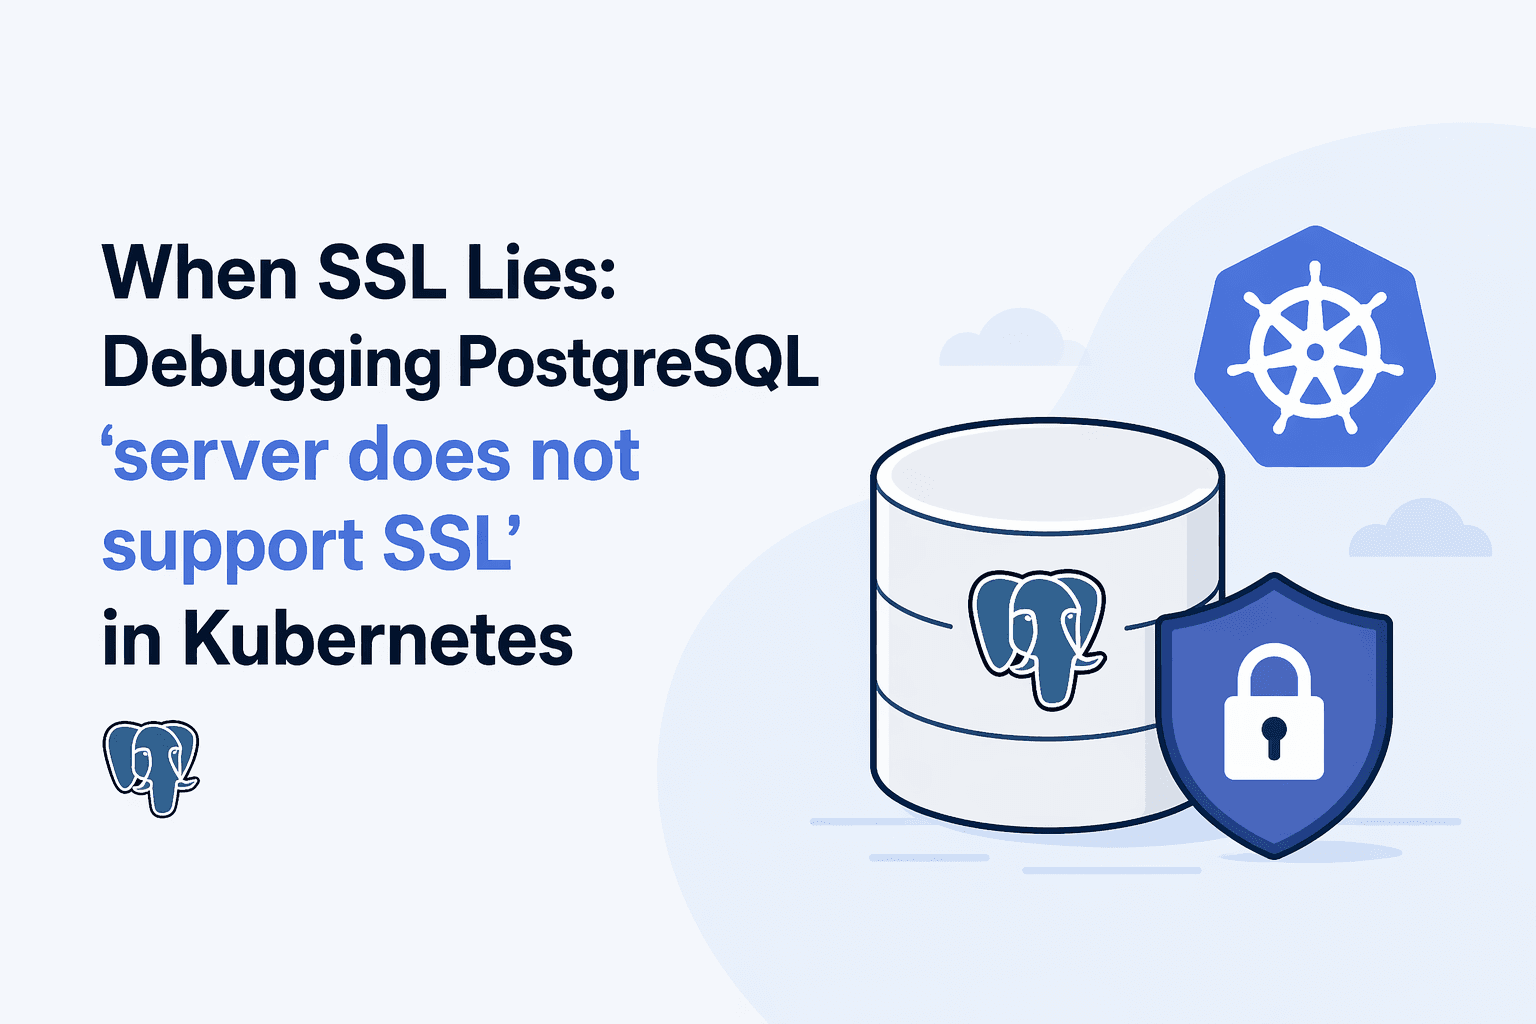
You spin up a Kubernetes workload. You connect to PostgreSQL. You add sslmode=require because security matters. And then PostgreSQL replies with: server does not support SSL, but SSL was required Wai
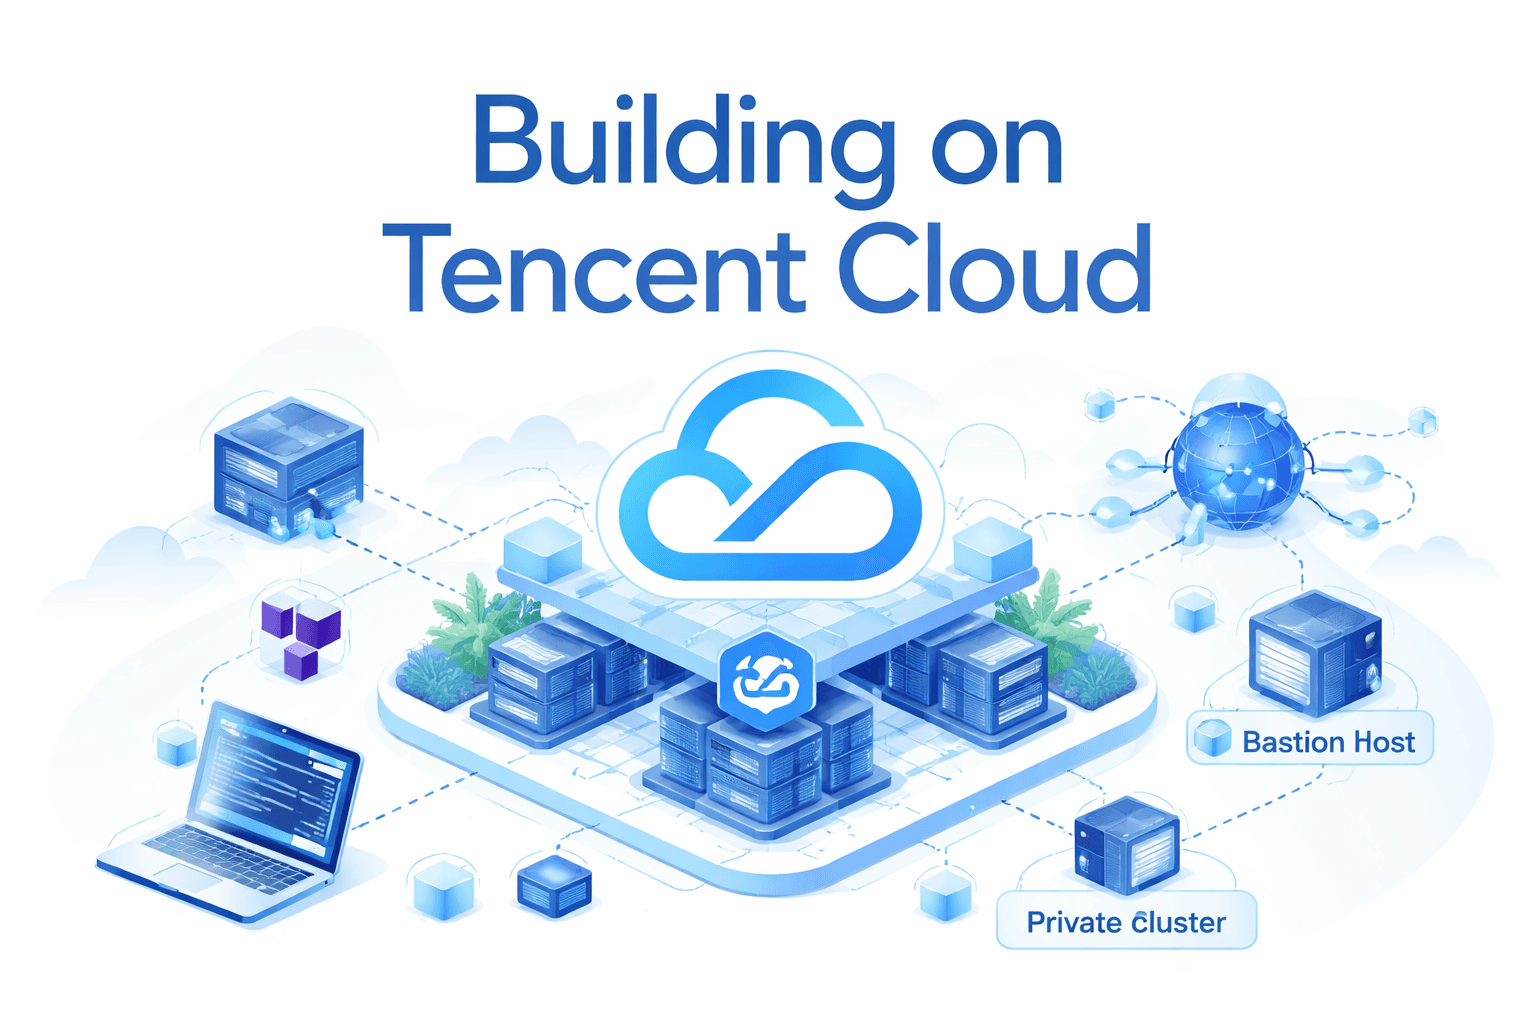
When you first approach Tencent Cloud, it feels familiar if you come from AWS or Azure. There are VPCs, Kubernetes clusters, load balancers, object storage, IAM, everything you would expect. But once
When I first automated Docker builds and deployments, I thought the hard part would be writing the YAML. It was not. The real challenges were versioning, preventing accidental rollbacks, handling envi
For a long time, Docker Compose felt like the perfect solution. Simple YAML, fast local setup, predictable behavior. For a single service or even a small stack, it works beautifully. But at some point, reality catches up. As the application grew, tra...
CodeOps Studies
40 posts
Simple write-ups on day to day code or devops experiments, tests etc.
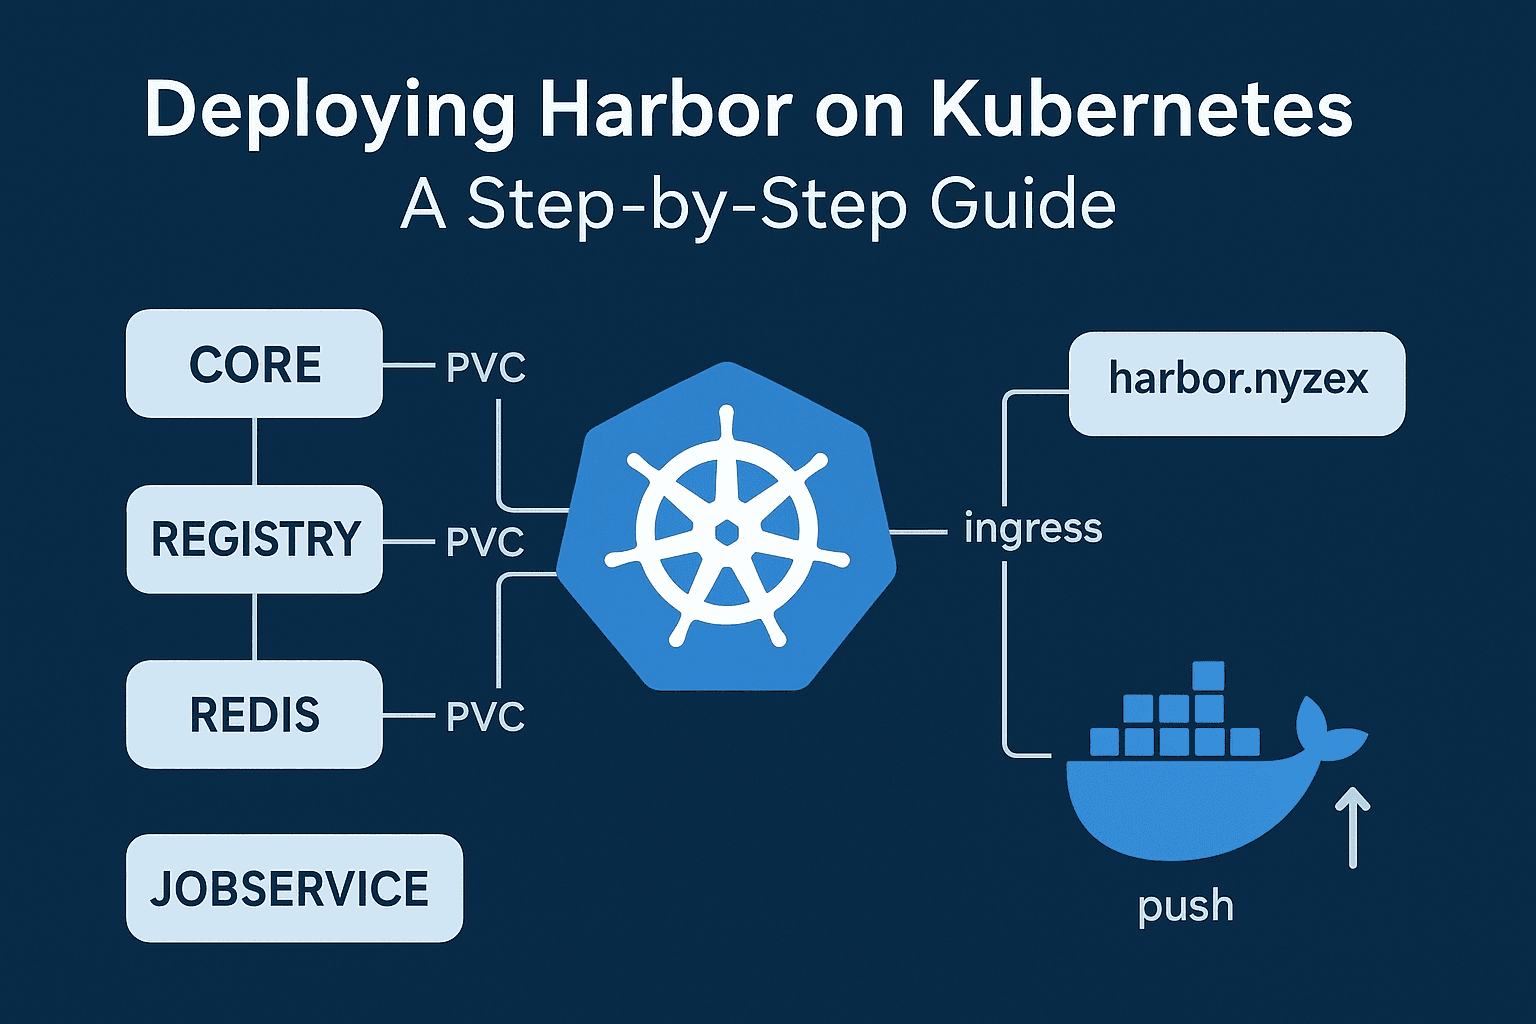
Harbor is a cloud-native registry that allows storing, signing, and scanning container images for vulnerabilities. Deploying Harbor on Kubernetes provides a scalable, highly available registry with integrated security features. In this guide, I will walk you through a full setup on a Kubernetes cluster using Helm, from installation to pushing your first Docker image.
Before starting, ensure that your Kubernetes cluster is ready and Helm is installed. You should also have an ingress controller configured if you plan to expose Harbor externally.

Helm simplifies deploying Harbor on Kubernetes. Begin by adding the Harbor Helm repository and fetching the chart:
helm repo add harbor https://helm.goharbor.io
helm repo update
helm fetch harbor/harbor --untar
Harbor provides detailed documentation for a high-availability deployment:
Harbor HA Helm Installation Guide.
Harbor is highly configurable through a values file. I created a values.yaml to suit my environment. Key configurations included:
Exposing Harbor via ingress with TLS enabled using the pangolin certificate.
Enabling persistence for Registry, Jobservice, and Trivy to ensure images are not lost during pod restarts.
Configuring internal components like Redis and PostgreSQL.
Values file excerpts:
expose:
  type: ingress
  tls:
    enabled: true
    certSource: pangolin
  ingress:
    hosts:
      core: harbor.nyzex.in
    className: "nginx"

externalURL: https://harbor.nyzex.in

persistence:
  enabled: true
  resourcePolicy: keep
  persistentVolumeClaim:
    registry:
      size: 10Gi
    jobservice:
      jobLog:
        size: 1Gi
    trivy:
      size: 5Gi

redis:
  enabled: true
  password: "redisStrongPassword"

harborAdminPassword: "Harbor12345"
We have disabled tls here, because it is being handled by pangolin for us. To understand that setup, please check my other blog:
Exposing Kubernetes Services Over the Internet Using MetalLB, NGINX Ingress, and Pangolin
Once your values file is ready, install Harbor in the harbor namespace:
kubectl create namespace harbor
helm install my-release ./harbor -n harbor -f values.yaml
Check the status of the pods and services:
kubectl get pods -n harbor
kubectl get svc -n harbor
kubectl get ingress -n harbor

Harbor generates an admin password automatically if not set. To retrieve it:
kubectl get secret my-release-harbor-core -n harbor -o jsonpath="{.data.HARBOR_ADMIN_PASSWORD}" | base64 --decode
This password allows you to log in to the Harbor UI at https://harbor.nyzex.in.
After logging in, I encountered an unauthorized error while pushing images. The crucial fix was setting:
registry:
  relativeurls: true
This change ensures Harbor correctly handles relative paths for the registry.
After logging in, I tested Harbor by building and pushing a sample Docker image.
Sample Dockerfile:
FROM busybox:latest
Build and tag the image:
docker build -t harbor.nyzex.in/myproj/test-image:latest .
Login to Harbor:
docker login harbor.nyzex.in
Push the image:
docker push harbor.nyzex.in/myproj/test-image:latest

The image successfully uploaded, and Harbor started scanning it if Trivy is enabled.


Harbor consists of several core components, each with its role:
Registry: Stores Docker images. Requires persistent storage to avoid losing images.
Core: Provides the UI, API, and handles authentication.
Jobservice: Executes background jobs, such as image replication or garbage collection.
Redis: Caching and session storage.
PostgreSQL: Stores metadata, configurations, and user information.
Trivy (optional): Performs vulnerability scans on images.
Persistent volumes ensure that each component retains data even if pods restart or are rescheduled.
kubectl get pvc -n harbor

my-release-harbor-registry)Role: This is the core Docker registry. All images you push or pull are stored here.
Storage: /storage inside the pod (mapped to PVC my-release-harbor-registry).
Growth: Every docker push increases this PVC.
Key takeaway: This is the main storage to monitor and expand if needed.
my-release-harbor-redis)Role: Redis is used as cache and message broker for Harbor. It speeds up operations like:
Session management
Job queue for replication
Temporary caching of metadata
Storage: Minimal, mostly in-memory. PVC (data-my-release-harbor-redis-0) is 1Gi because Redis mostly uses RAM.
Growth: Usually does not grow with image pushes; only used for transient data.
my-release-harbor-trivy)Role: Trivy is Harbor’s vulnerability scanner. It scans container images for CVEs.
Storage: Stores vulnerability DB and scan cache in its PVC (data-my-release-harbor-trivy-0).
Growth: Increases if you scan many images, because it caches scan results and the CVE database (~5Gi here).
Key takeaway: You don’t need to increase this PVC unless you do tons of scans.
my-release-harbor-database)Role: Harbor’s PostgreSQL database. Stores:
Users, projects, and roles
Repository metadata
Scan results
Jobs, quotas, and configurations
Storage: Your PVC is small (1Gi). Actual usage is tiny at first.
Growth: Will grow slowly with metadata; pushing images does not increase it significantly.
my-release-harbor-jobservice)Role: Manages asynchronous jobs for Harbor:
Image replication
Garbage collection
Scan jobs (Trivy)
Retention policies
Storage: Uses its PVC (my-release-harbor-jobservice) minimally for job queues and logs (~1Gi).
Growth: Typically small; no impact on image storage.
Summary:
| Component | PVC used | Grows with image push? | Notes |
| Registry | my-release-harbor-registry | Yes | This is your main image storage |
| Redis | data-my-release-harbor-redis-0 | No | Only cache, ephemeral data |
| Trivy | data-my-release-harbor-trivy-0 | Slightly | Stores scan DB & results |
| Database | database-data-my-release-harbor-database-0 | Minor | Stores metadata |
| Jobservice | my-release-harbor-jobservice | Minor | Handles background jobs |
/storageNow that we know /storage is to be monitored for usage, we can use the following to keep check on it:
kubectl exec -n harbor -it deployment/my-release-harbor-registry -- sh -c "du -sh /storage"
This gives total usage.
blobs and repositories)kubectl exec -n harbor -it deployment/my-release-harbor-registry -- sh -c "du -sh /storage/*"

The registry.relativeurls fix is crucial to avoid push failures.
Persistence ensures images, logs, and scan data are retained safely.
Properly configuring ingress and TLS certificates is essential for secure access.
Redis and PostgreSQL are critical for Harbor functionality and must be monitored.
Docker login, build, and push are straightforward once Harbor is correctly configured.
Deploying Harbor with Helm on Kubernetes is straightforward if you follow these steps carefully. With persistence, security, and a proper workflow, Harbor becomes a reliable, enterprise-ready registry for your container images.