
Self-Hosting Pangolin + Newt on Your Own Server
DevOps & Cloud Engineer — building scalable, automated, and intelligent systems. Developer of sorts | Automator | Innovator
Recently, I decided to self-host Pangolin (a modern VPN + mesh networking + tunneling platform) on my own server. The goal was simple:
Create my own WireGuard-based private network
Have an easy dashboard to manage networks and clients
Avoid the complexity of Tailscale ACLs + self-hosted coordination servers
Spoiler: It works beautifully now, but my first attempt involved a few wrong turns. So here's the full working guide, start to finish, including the gotchas.
What We are Building
We will set up a Pangolin instance hosted on:
Domain: nyzex.in
Dashboard URL: https://tunnel.nyzex.in
Public server IP: <my SERVER IP>
Then we’ll connect a client machine using Newt, Pangolin's lightweight VPN client.
Prerequisites
Before installing:
A VPS (Ubuntu recommended)
Your domain pointed to your server:
Arecord →tunnel.nyzex.in→ <my SERVER IP>
Open ports:
TCP: 80, 443
UDP: 51820, 21820
On Ubuntu, you can open ports with:
ufw allow 80/tcp
ufw allow 443/tcp
ufw allow 51820/udp
ufw allow 21820/udp
ufw enable
Or if you are using some VM from cloud provider, you will have to allow the traffic (incoming) on these ports.
Step 1: Install Pangolin on the Server
Run the official installer:
curl -fsSL https://pangolin.net/get-installer.sh | bash
sudo ./installer
During setup, I used:
| Prompt | Value |
| Base domain | nyzex.in |
| Dashboard domain | tunnel.nyzex.in |
your email | |
| Use Gerbil? | yes |
This sets up:
pangolinbackend APItraefikreverse proxy w/ TLSgerbilWireGuard relay
Once it’s done, it shows a setup token. Example:
Setup token: lf6nmzbcay5v0dsadasdadasdadaweq
Go to: https://tunnel.nyzex.in/auth/initial-setup
Visit that URL in your browser → Create your admin account.
Step 2: Create a Site in the Dashboard
In Pangolin dashboard:
Go to Sites → Create Site
Example name:
my-siteYou’ll get:
NEWT ID: dqwdaxcxcsdfsdfxcv
SECRET KEY: r0ujdgp8d5kf2eadasdae3rdevsdvg
Keep these safe.
Step 3: Install Newt on the Client
On the machine you want to connect, I used a Qemu VM that I created (check previous blog!):
curl -fsSL https://tunnel.net/get-newt.sh | bash
Then enroll the client:
newt --id dqwdaxcxcsdfsdfxcv --secret r0ujdgp8d5kf2eadasdae3rdevsdvg --endpoint https://tunnel.nyzex.in --accept-clients
If successful, you will see logs like:
Tunnel connection to server established successfully!
WireGuard device created and configured
And your site in the dashboard will switch from Offline → Online!
Troubleshooting I Hit (So You Don’t)
| Issue | Fix |
unsupported protocol scheme "" in newt enroll | You must include https:// in --endpoint |
| Site stuck offline | Run client using --accept-clients or restart it |
| Dashboard not loading / SSL errors | Ensure DNS + ports + Let’s Encrypt solved correctly |
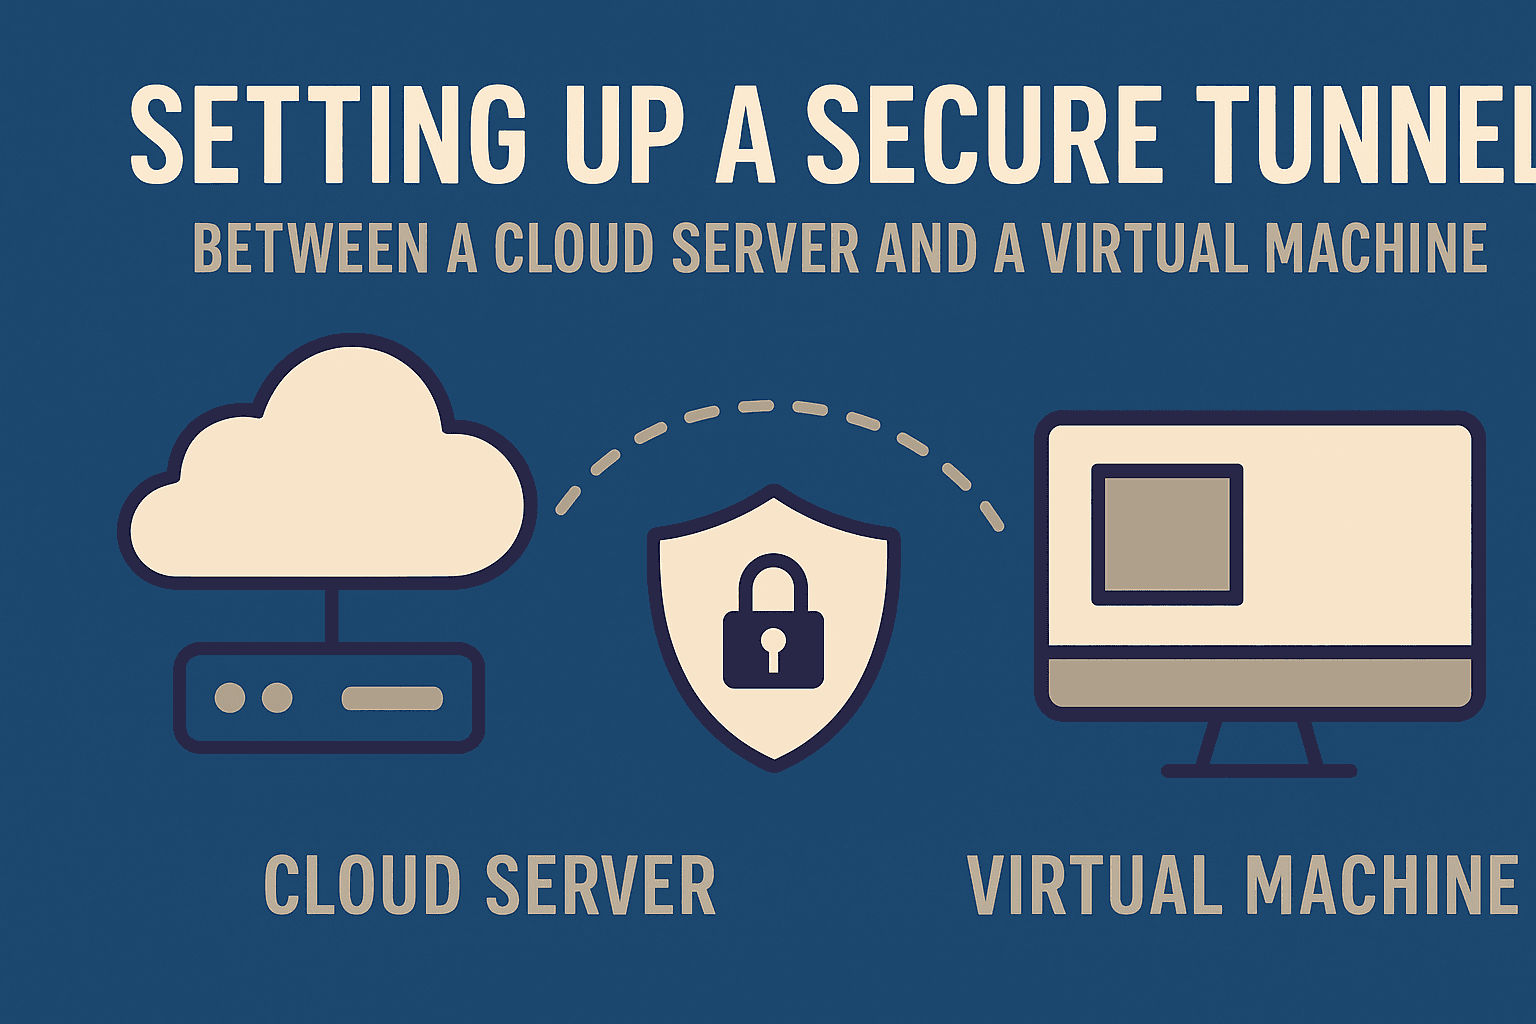
Now That the Tunnel Exists — What Can You Do?
Once Pangolin is connected, your cloud machine and QEMU VM are on the same private network, even if your home network has NAT, CGNAT, or no port forwarding.
So now they can talk like this:
cloud → 10.44.0.12 (QEMU VM)
QEMU VM → 10.44.0.1 (cloud)
No opening ports. No exposing services publicly.
This is the reason Pangolin is useful.
Final Result
Pangolin dashboard reachable at https://tunnel.nyzex.in
Newt clients connect instantly
Internal network routing works via WireGuard
No manual config headache