

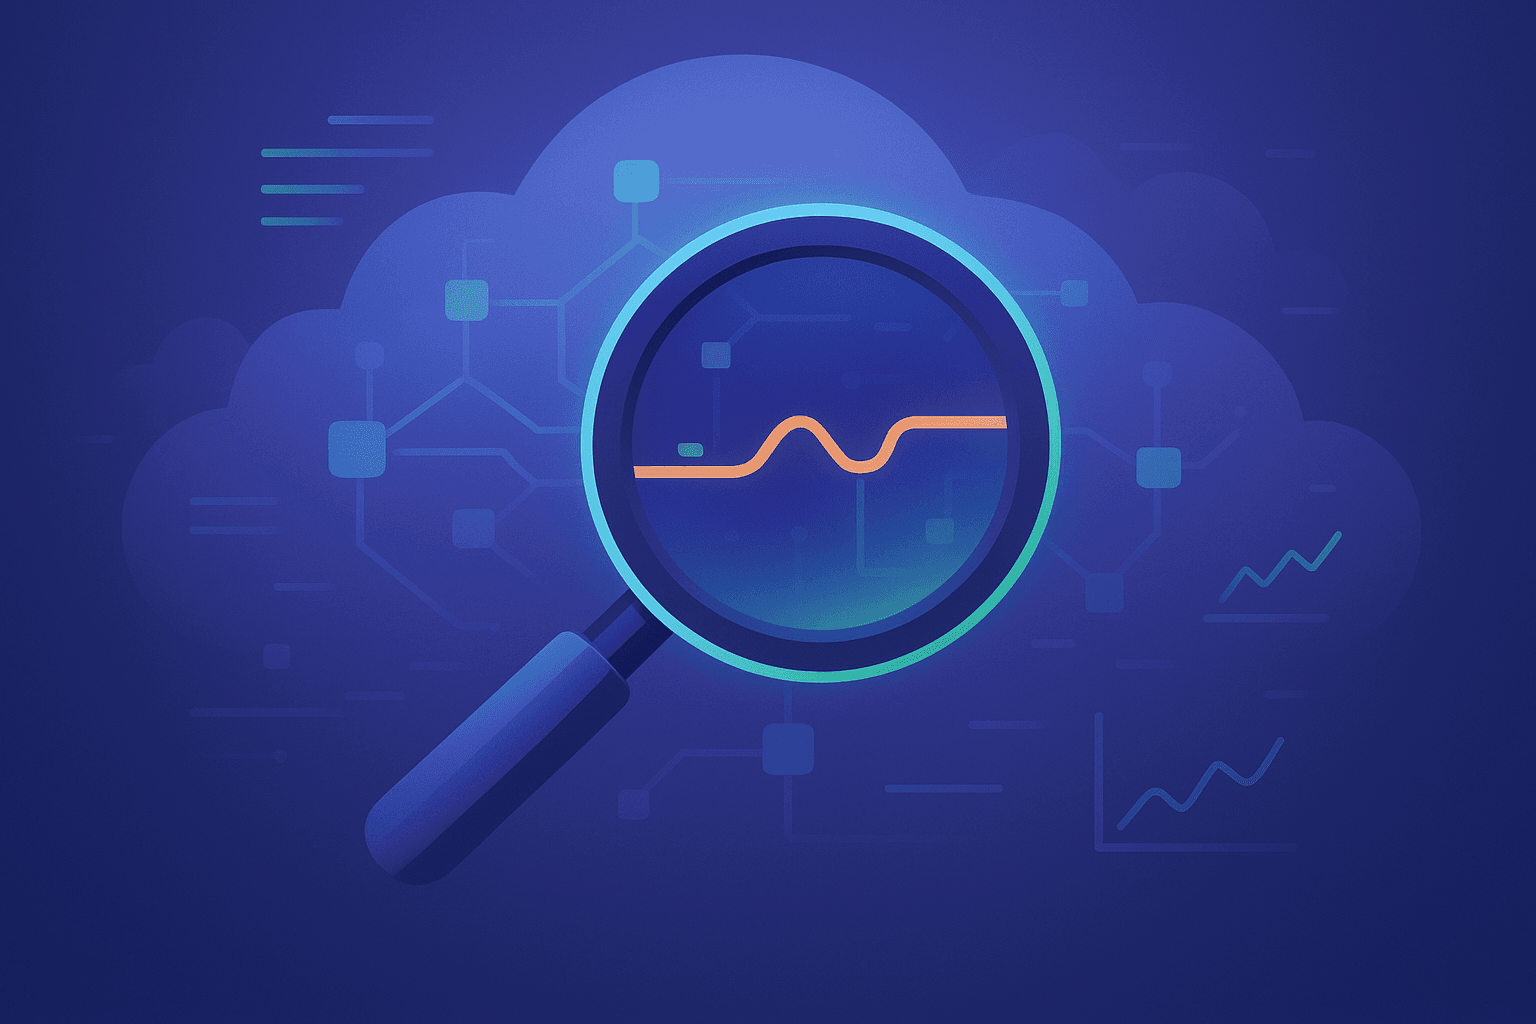
Why Observability is the Unsung Hero in Modern Cloud Applications
S
DevOps & Cloud Engineer — building scalable, automated, and intelligent systems. Developer of sorts | Automator | Innovator
Search for a command to run...
DevOps & Cloud Engineer — building scalable, automated, and intelligent systems. Developer of sorts | Automator | Innovator
Artificial Intelligence has become one of the biggest talking points in software engineering. Every week, a new tool promises to automate deployments, fix production incidents, or replace developers a
You spin up a Kubernetes workload. You connect to PostgreSQL. You add sslmode=require because security matters. And then PostgreSQL replies with: server does not support SSL, but SSL was required Wai
When you first approach Tencent Cloud, it feels familiar if you come from AWS or Azure. There are VPCs, Kubernetes clusters, load balancers, object storage, IAM, everything you would expect. But once
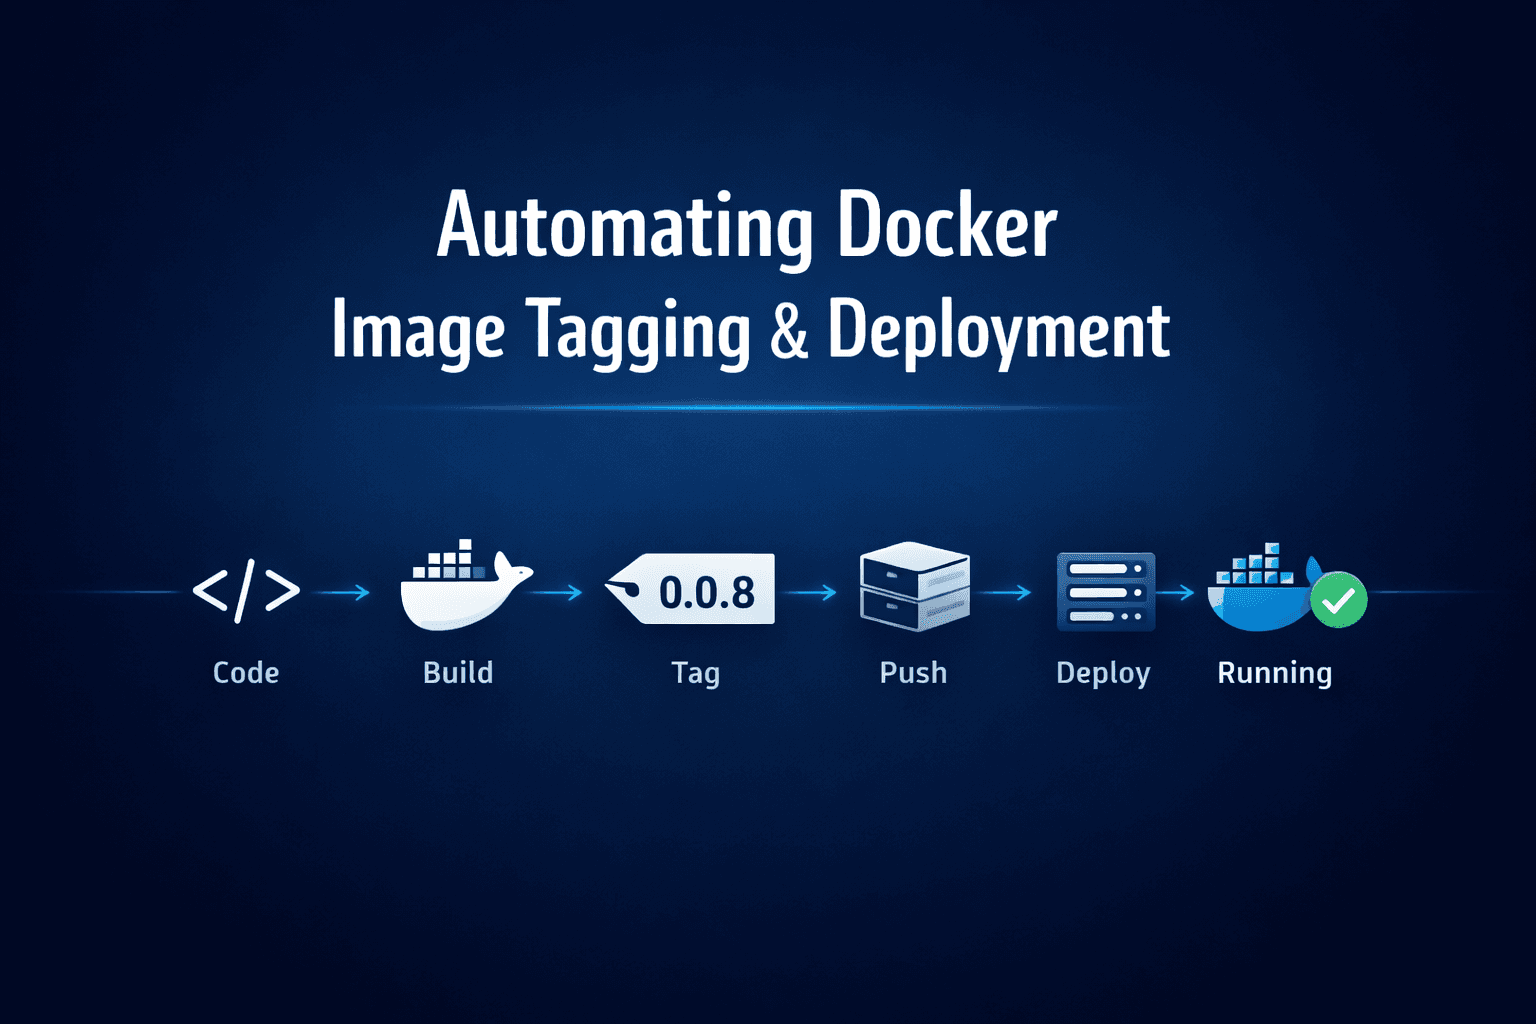
When I first automated Docker builds and deployments, I thought the hard part would be writing the YAML. It was not. The real challenges were versioning, preventing accidental rollbacks, handling envi
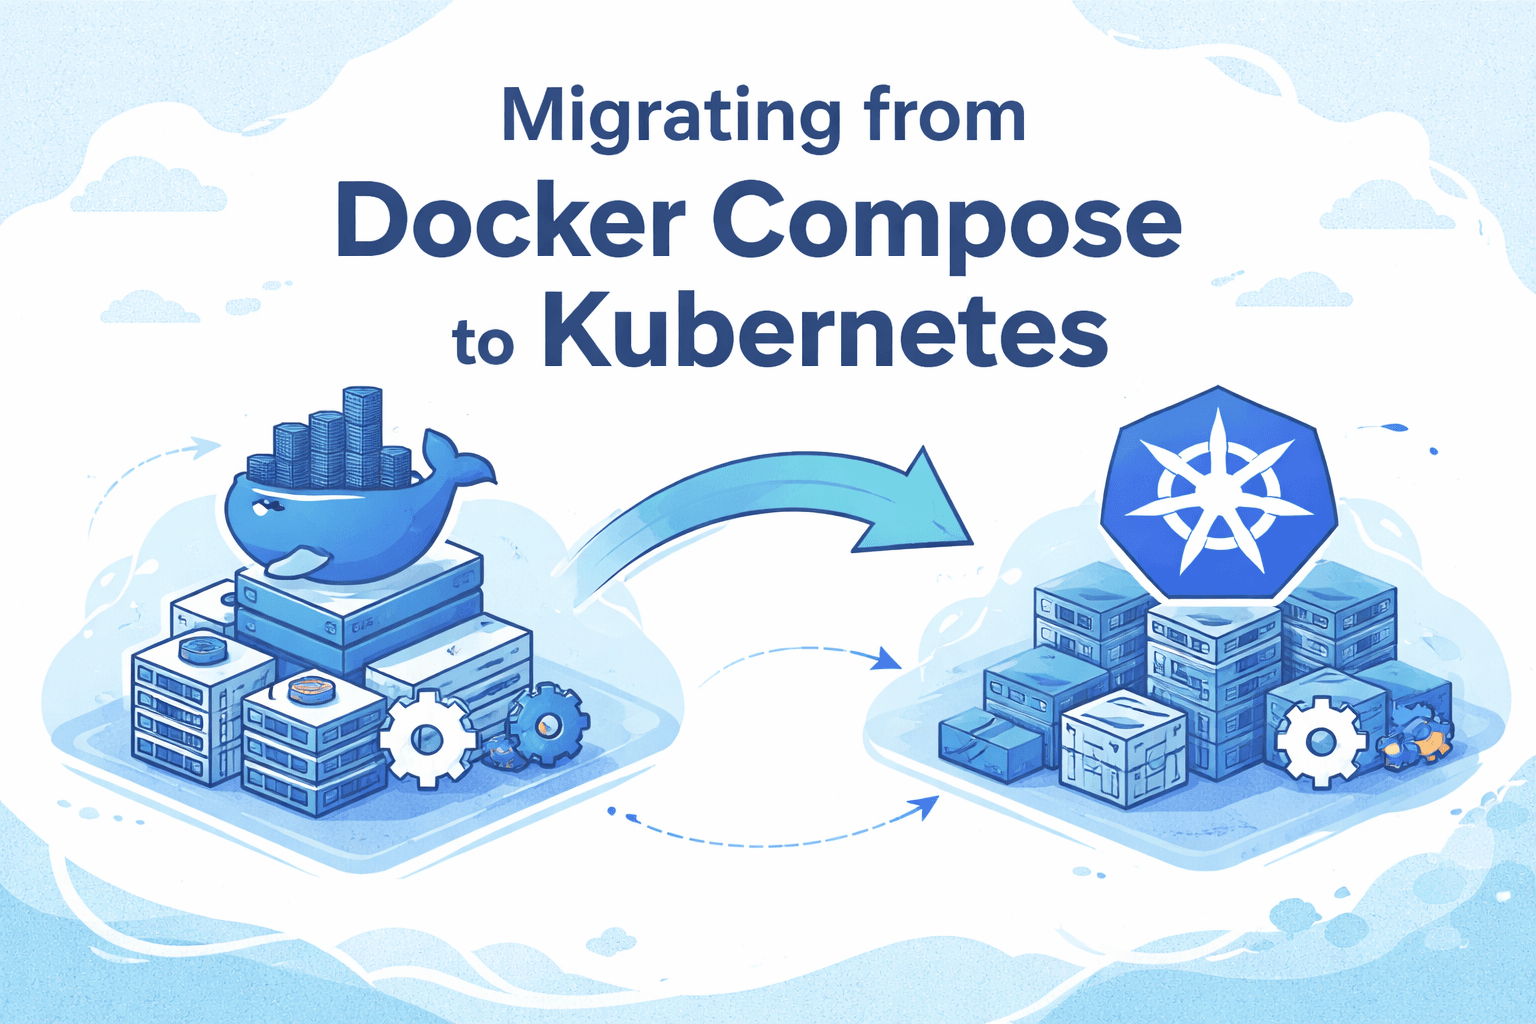
For a long time, Docker Compose felt like the perfect solution. Simple YAML, fast local setup, predictable behavior. For a single service or even a small stack, it works beautifully. But at some point, reality catches up. As the application grew, tra...
CodeOps Studies
40 posts
Simple write-ups on day to day code or devops experiments, tests etc.
Modern cloud applications are incredibly powerful, but with great power comes great complexity. Applications today often consist of multiple microservices, databases, and third-party integrations running across distributed environments. This makes it challenging for developers and operations teams to understand what is happening inside the system, especially when something goes wrong. Traditional monitoring can only take you so far. This is where observability becomes essential.
Observability is the practice of designing systems in such a way that their internal state can be inferred from external outputs. It provides actionable insights that help engineers understand, diagnose, and optimize system performance in real time.
Before diving into tools, it is important to distinguish monitoring, logging, and observability:
Monitoring collects predefined metrics such as CPU usage, memory usage, or request latency. Alerts notify teams when thresholds are crossed.
Logging captures events and errors, providing detailed records of system behavior for debugging.
Observability goes further. It combines metrics, logs, and traces to give engineers a complete understanding of system behavior. It allows you to ask “why” something happened, not just “what” happened.
Observability enables answers to questions like:
Why did a specific request take unusually long to process?
Which microservice caused a failure in a transaction?
How does a change in one component affect others across the system?
Consider an e-commerce platform built using microservices for inventory, payment, and shipping. During a holiday sale, the checkout process slows down dramatically. Without observability, the engineering team might only see high CPU usage in one service but not understand the root cause.
By implementing observability, the team can:
Trace requests from the frontend through the payment, inventory, and shipping services.
Analyze logs to identify error spikes in payment validation.
Inspect metrics to find latency bottlenecks in database queries.
In this example, observability allows the team to pinpoint the root cause: a slow payment gateway integration rather than blindly optimizing unrelated services.
Here are some widely used tools for observability, along with installation and basic usage examples.
Jaeger helps track requests as they move through microservices.
Installation (local setup with Docker):
docker run -d --name jaeger \
  -e COLLECTOR_ZIPKIN_HTTP_PORT=9411 \
  -p 5775:5775/udp \
  -p 6831:6831/udp \
  -p 6832:6832/udp \
  -p 5778:5778 \
  -p 16686:16686 \
  -p 14268:14268 \
  -p 14250:14250 \
  -p 9411:9411 \
  jaegertracing/all-in-one:1.41
Usage:
Access the Jaeger UI at http://localhost:16686.
Send traces from your application using OpenTelemetry or Jaeger client libraries.
Explore request paths to identify latency and bottlenecks.
Prometheus collects and stores metrics from your application.
Installation (local setup with Docker):
docker run -d --name prometheus \
  -p 9090:9090 \
  -v $PWD/prometheus.yml:/etc/prometheus/prometheus.yml \
  prom/prometheus
Example prometheus.yml:
global:
  scrape_interval: 15s

scrape_configs:
  - job_name: 'my-app'
    static_configs:
      - targets: ['host.docker.internal:8000']
Usage:
Access Prometheus at http://localhost:9090.
Query metrics such as request duration or error rate.
Combine with Grafana to create dashboards.
Grafana provides rich dashboards for visualizing metrics and logs.
Installation (local setup with Docker):
docker run -d -p 3000:3000 --name=grafana grafana/grafana
Usage:
Access Grafana at http://localhost:3000.
Connect Prometheus as a data source.
Build dashboards to monitor service performance and visualize latency, error rates, and request throughput.
When working with kubernetes, I tend to use loki-stack helm chart as it comes with everything built-in!
loki:
  enabled: true
  isDefault: true
  url: http://{{(include "loki.serviceName" .)}}:{{ .Values.loki.service.port }}
  readinessProbe:
    httpGet:
      path: /ready
      port: http-metrics
    initialDelaySeconds: 45
  livenessProbe:
    httpGet:
      path: /ready
      port: http-metrics
    initialDelaySeconds: 45
  datasource:
    jsonData: "{}"
    uid: ""


promtail:
  enabled: true
  config:
    logLevel: info
    serverPort: 3101
    clients:
      - url: http://{{ .Release.Name }}:3100/loki/api/v1/push


grafana:
  enabled: true
  adminUser: "admin"
  adminPassword: "devops123"
  image:
    #tag: 10.3.3
    tag: 11.4.0
  datasources:
    datasources.yaml:
      apiVersion: 1
      datasources:
        - name: Prometheus
          type: prometheus
          access: proxy
          url: http://{{ include "prometheus.fullname" . }}:9090
        - name: Loki
          type: loki
          access: proxy
          url: http://{{ include "loki.fullname" . }}:3100


prometheus:
  enabled: true
  isDefault: false
  server:
    service:
      servicePort: 9090
  url: http://{{ include "prometheus.fullname" .}}:{{ .Values.prometheus.server.service.servicePort }}{{ .Values.prometheus.server.prefixURL }}
  datasource:
    jsonData: "{}"


filebeat:
  enabled: false


logstash:
  enabled: false


fluent-bit:
  enabled: false
I just simply apply it with:
helm repo add grafana https://grafana.github.io/helm-charts
helm repo update

helm upgrade --install loki-stack grafana/loki-stack -n loki -f loki_stack_values.yaml
To check:
nyzex@nyzex-systems % kubectl get pods -n loki
NAME                                                 READY   STATUS    RESTARTS   AGE
loki-stack-0                                         1/1     Running   0          20m
loki-stack-alertmanager-0                            1/1     Running   0          20m
loki-stack-grafana-7d4fdcd58c-cs8fk                  2/2     Running   0          20m
loki-stack-kube-state-metrics-fb7f548d6-jg2cq        1/1     Running   0          20m
loki-stack-prometheus-node-exporter-cg57k            1/1     Running   0          20m
loki-stack-prometheus-pushgateway-5649b6944b-9k9fj   1/1     Running   0          20m
loki-stack-prometheus-server-5c8c8f584d-6chxx        2/2     Running   0          20m
loki-stack-promtail-blwfh                            1/1     Running   0          20m

nyzex@nyzex-systems % kubectl get svc -n loki
NAME                                  TYPE        CLUSTER-IP      EXTERNAL-IP   PORT(S)    AGE
loki-stack                            ClusterIP   10.43.174.77    <none>        3100/TCP   21m
loki-stack-alertmanager               ClusterIP   10.43.32.102    <none>        9093/TCP   21m
loki-stack-alertmanager-headless      ClusterIP   None            <none>        9093/TCP   21m
loki-stack-grafana                    ClusterIP   10.43.16.157    <none>        80/TCP     21m
loki-stack-headless                   ClusterIP   None            <none>        3100/TCP   21m
loki-stack-kube-state-metrics         ClusterIP   10.43.119.248   <none>        8080/TCP   21m
loki-stack-memberlist                 ClusterIP   None            <none>        7946/TCP   21m
loki-stack-prometheus-node-exporter   ClusterIP   10.43.20.145    <none>        9100/TCP   21m
loki-stack-prometheus-pushgateway     ClusterIP   10.43.113.177   <none>        9091/TCP   21m
loki-stack-prometheus-server          ClusterIP   10.43.201.93    <none>        9090/TCP   21m
Then we can just add ingress to the grafana and we are good to go!
This has been depreciated as of December 2025
https://artifacthub.io/packages/helm/grafana/loki-stack
By combining these tools:
Prometheus provides metrics and system health data.
Jaeger provides request traces across microservices.
Grafana visualizes both metrics and traces.
For example, a slow API call can be traced using Jaeger, the request load can be seen in Prometheus, and a Grafana dashboard can provide a real-time view of system performance. This makes identifying and resolving issues faster and more reliable.
Start Small: Focus on critical services and gradually expand coverage.
Instrument Key Components: Ensure metrics, logs, and traces are collected for all important paths.
Automate Alerts: Configure alerts in Prometheus or Grafana to proactively detect anomalies.
Review and Iterate: Observability is an ongoing process. Learn from incidents and refine instrumentation.
Observability is no longer optional for modern cloud applications. While monitoring and logging provide snapshots of system behavior, observability delivers a deep understanding of how systems operate and interact. By implementing tools like Jaeger, Prometheus, and Grafana, teams can diagnose problems faster, optimize performance, and ensure a reliable user experience. Observability is the unsung hero that allows engineers to manage complexity effectively, transforming chaos into clarity.